How to Bar Lace Your Sneakers: A Simple Step-by-Step Guide with Photos
Posted by FARHAN ZAINI

Tired of the standard criss-cross lacing you’ve used since you were a kid? "Bar lacing," also known as "straight lacing," is one of the most popular alternative methods. It creates a clean, minimalist look with neat horizontal bars running across your sneakers.
It looks impressive, but it's surprisingly easy to do. Here’s how to master the bar lacing technique in five simple steps. This method works best on sneakers with an even number of eyelet pairs (like 6 or 8).
What You'll Need:
-
Your favorite pair of sneakers (works great on Dunks, Jordans, and Sambas).
-
A pair of Slickies Flat Laces. For this style, flat laces work best to create clean, defined bars.
Step 1: The First Bar
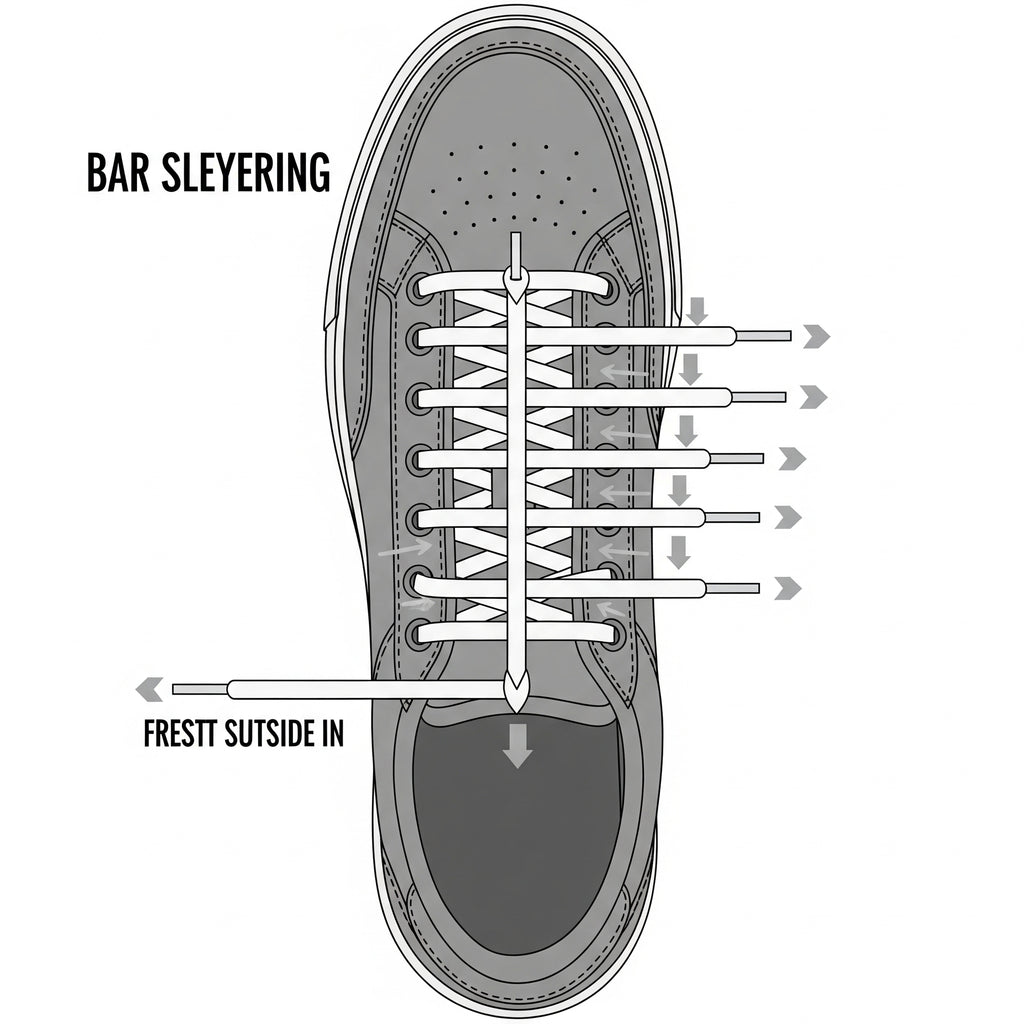
Start by running the lace straight across the bottom two eyelets, feeding it from the outside in. This creates your first, lowest bar. Make sure you have an equal length of lace on both the left and right sides.
(Image Suggestion: A close-up of the bottom two eyelets with the first bar of the lace going straight across.)
Step 2: The First Hidden Run
Take the left lace (blue in our diagram) and run it straight up underneath the shoe's upper, skipping one eyelet. Feed it out through the second eyelet from the bottom on the same (left) side.
(Image Suggestion: A diagram showing the left lace running underneath from the first eyelet to the third eyelet on the same side.)
Step 3: The Second Bar
Now take that same left lace (blue) and run it straight across to the opposite (right) side, feeding it into the second eyelet from the bottom. You have now created your second bar.
(Image Suggestion: A diagram showing the lace going straight across the shoe to form the second bar.)
Step 4: The Second Hidden Run
Now, take the right lace (yellow in our diagram). Run it straight up underneath, skipping one eyelet, and feed it out through the third eyelet from the bottom on the same (right) side.
(Image Suggestion: A diagram showing the right lace running underneath from the second eyelet to the fourth eyelet on the same side.)
Step 5: Repeat to the Top
Continue this pattern:
-
The lace on the right goes straight across to the left to create a new bar.
-
The lace on the left runs underneath, skips an eyelet, and comes up on the same side.
Alternate which lace goes across and which runs underneath until you reach the top eyelets. You can then tie a standard knot or tuck the ends in for an even cleaner look.
That’s it! You've successfully bar-laced your sneakers. This clean, symmetrical style is a simple way to upgrade your shoe game and stand out from the crowd.


